Peek behind elements and overlays
Peek behind elements and overlays
About This Feature
Peek Behind is a new one-click feature that lets you temporarily hide page masks or other layered elements so you can easily access and edit content underneath.
Snapshot 📸
- Feature Status: Core Feature
- Role Access: Admin, Editor
- Location: Walnut Editor
Quick Start Guide
-
Click a layered element such as a pop-up, page mask, or overlay in the body of the Walnut Editor.
-
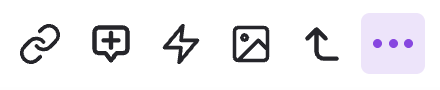
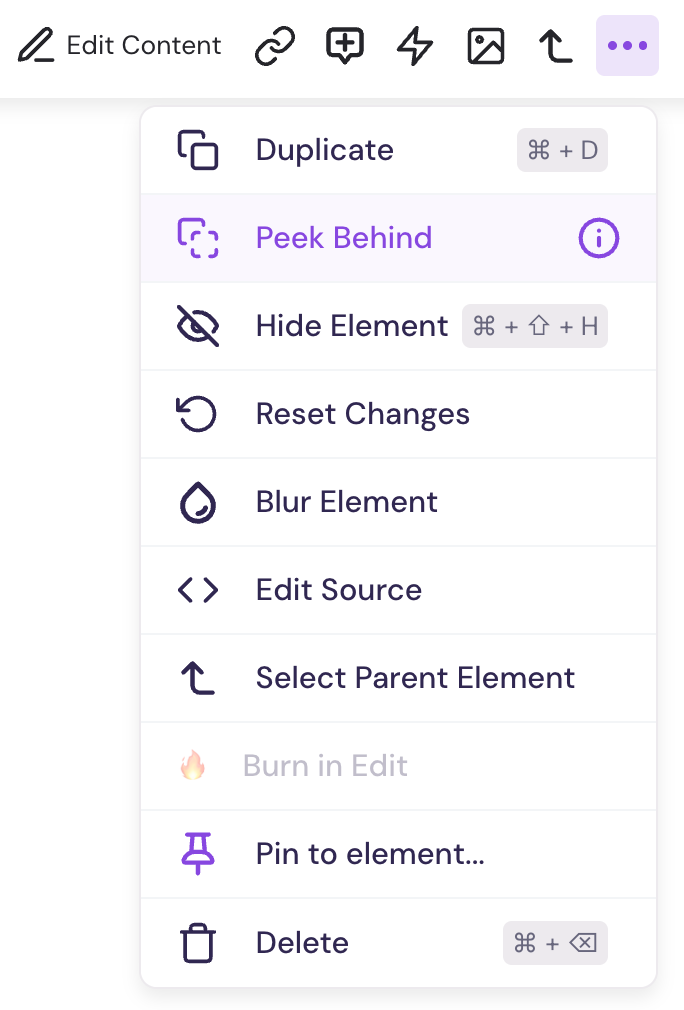
Right-click the element or click the three-dot icon in the element editor toolbar to open the More Actions menu.
-
Select Peek Behind to temporarily hide the selected element(s) and reveal what's underneath.
-
If there are multiple overlapping elements, repeat steps 1–3 to hide them one at a time until the element you need is exposed.
How to Exit Peek Mode
To exit Peek Mode and restore hidden elements:
- Click the Exit Peek Mode eye icon in the editing toolbar.
- Select Exit Peek Mode from the More Actions menu.
- Refresh your browser to reset all temporarily hidden elements.

Pro Tip 👑
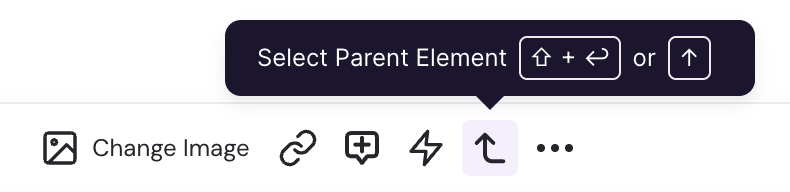
Use the Select Parent Element tool to select a group of elements or refine your selection in the Editor.
FAQs
What’s the Difference Between Peek Behind and Hide Element?
- Use Peek Behind to make editing easier. Use Hide Element to customize what your audience sees.
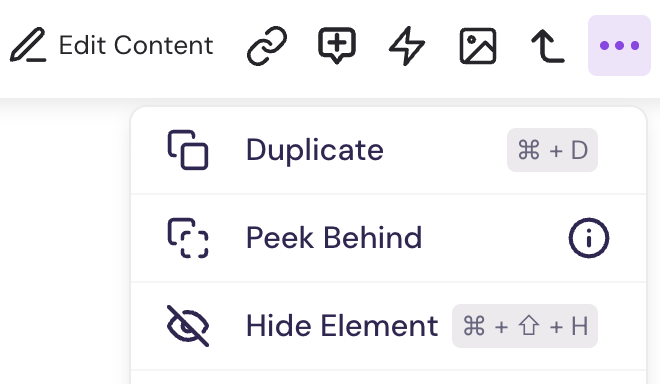
👁️ Peek Behind:
- Temporarily hides an element only in the editor.
- Lets you access and edit content beneath overlays or pop-ups.
- Local only – changes are visible only to you.
- Does not affect the published demo.
- Other collaborators and demo viewers will still see the element.
🚫 Hide Element:
- Permanently hides an element (or group of elements) in the published demo.
- Viewers will not see the hidden content.
- Hidden elements are visible to collaborators in the Editor, but will appear translucent with a black dashed border.